원문>
Yet Another Tutorial for Building a Blog Using Python and Django - Part 1 - Matthew Daly's Blog
24th February 2012 4:17 pm Yet Another Tutorial for Building a Blog Using Python and Django - Part 1 While I’m extremely fond of Perl for quick hacks and scripts, and have used PHP a fair amount for web development purposes (both on its own and with the
matthewdaly.co.uk
번역 / 수정>
이 튜토리얼은 장고를 이용한 아주 간단한 블로그 엔진을 만들어보겠습니다.
현재 원문은 장고가 1.3.1 버전이므로 3.x에 맞추어 변경을 하였습니다.
1. 가상 환경 설치
python -m venv venv
2. 가상 환경 시작
venv\Scripts\activate
3. 장고 설치
pip install djangoCollecting django Downloading https://files.pythonhosted.org/packages/c6/b7/63d23df1e311ca0d90f41352a9efe7389ba353df95deea5676652e615420/Django-3.0.3-py3-none-any.whl (7.5MB) |████████████████████████████████| 7.5MB 364kB/s Collecting pytz (from django) Downloading https://files.pythonhosted.org/packages/e7/f9/f0b53f88060247251bf481fa6ea62cd0d25bf1b11a87888e53ce5b7c8ad2/pytz-2019.3-py2.py3-none-any.whl (509kB) |████████████████████████████████| 512kB 1.6MB/s Collecting asgiref~=3.2 (from django) Downloading https://files.pythonhosted.org/packages/a5/cb/5a235b605a9753ebcb2730c75e610fb51c8cab3f01230080a8229fa36adb/asgiref-3.2.3-py2.py3-none-any.whl Collecting sqlparse>=0.2.2 (from django) Downloading https://files.pythonhosted.org/packages/ef/53/900f7d2a54557c6a37886585a91336520e5539e3ae2423ff1102daf4f3a7/sqlparse-0.3.0-py2.py3-none-any.whl Installing collected packages: pytz, asgiref, sqlparse, django Successfully installed asgiref-3.2.3 django-3.0.3 pytz-2019.3 sqlparse-0.3.0 WARNING: You are using pip version 19.2.3, however version 20.0.2 is available. You should consider upgrading via the 'python -m pip install --upgrade pip' command.
4. pip 업데이트
python -m pip install --upgrade pipCollecting pip Downloading https://files.pythonhosted.org/packages/54/0c/d01aa759fdc501a58f431eb594a17495f15b88da142ce14b5845662c13f3/pip-20.0.2-py2.py3-none-any.whl (1.4MB) |████████████████████████████████| 1.4MB 226kB/s Installing collected packages: pip Found existing installation: pip 19.2.3 Uninstalling pip-19.2.3: Successfully uninstalled pip-19.2.3 Successfully installed pip-20.0.2
5. 프로젝트 생성
django-admin startproject DjangoBlog .
6. 로컬 서버 실행
python manage.py runserver
7. setting 수정(DjangoBlog > settings.py)
- 접속 허용 주소
ALLOWED_HOSTS = ['*']
- 장고 기본 언어 / 타임존
LANGUAGE_CODE = 'ko-kr'

TIME_ZONE = 'Asia/Seoul'
8. blogengine APP 생성
python manage.py startapp blogengine├
├─blogengine
│ ├─migrations
├─DjangoBlog
| * MVC(Model-View-Control) |
| 웹 응용 프로그램을 보다 쉽게 사용할 수 있도록 코드를 논리적으로 분리하는 방법 |
| Model : 애플리케이션이 보유한 데이터(다른 프레임워크에서와 똑같이 작동) |
| View : 최종 사용자가 애플리케이션에 대해 보는 것(로직 처리) |
| Control : 이 둘을 연결하는 논리(템플릿 처리) |
9. setting 수정(DjangoBlog > settings.py)
- blogengine APP 등록
INSTALLED_APPS += [
    'blogengine.apps.BlogengineConfig',
]| * INSTALLED_APPS 항목에 추가하지 않으면 데이터베이스 관련된 작업을 할 수 없다. |
- blogengine > apps.py
from django.apps import AppConfig


class BlogengineConfig(AppConfig):
    name = 'blogengine'
10. model 수정(blogengine > models.py)
원문 코드>
from django.db import models


class Post(models.Model):
    title = models.CharField(max_length=200)
    pub_date = models.DateTimeField()
    text = models.TextField()

    def __unicode__(self):
        return self.title
수정 코드>
from django.db import models


class Post(models.Model):
    title = models.CharField(max_length=200)
    pub_date = models.DateTimeField()
    text = models.TextField()

    def __str__(self):
return self.title| Post 속성 | |
| title | 글 제목 |
| pub_date | 글 생성일 |
| text | 글 내용 |
11. makemigrations
python manage.py makemigrations
12. migrate
python manage.py migrate
13. 관리자 계정 생성
python manage.py createsuperuser
14. 관리자 페이지에 Post 생성
from django.contrib import admin

from .models import Post


admin.site.register(Post)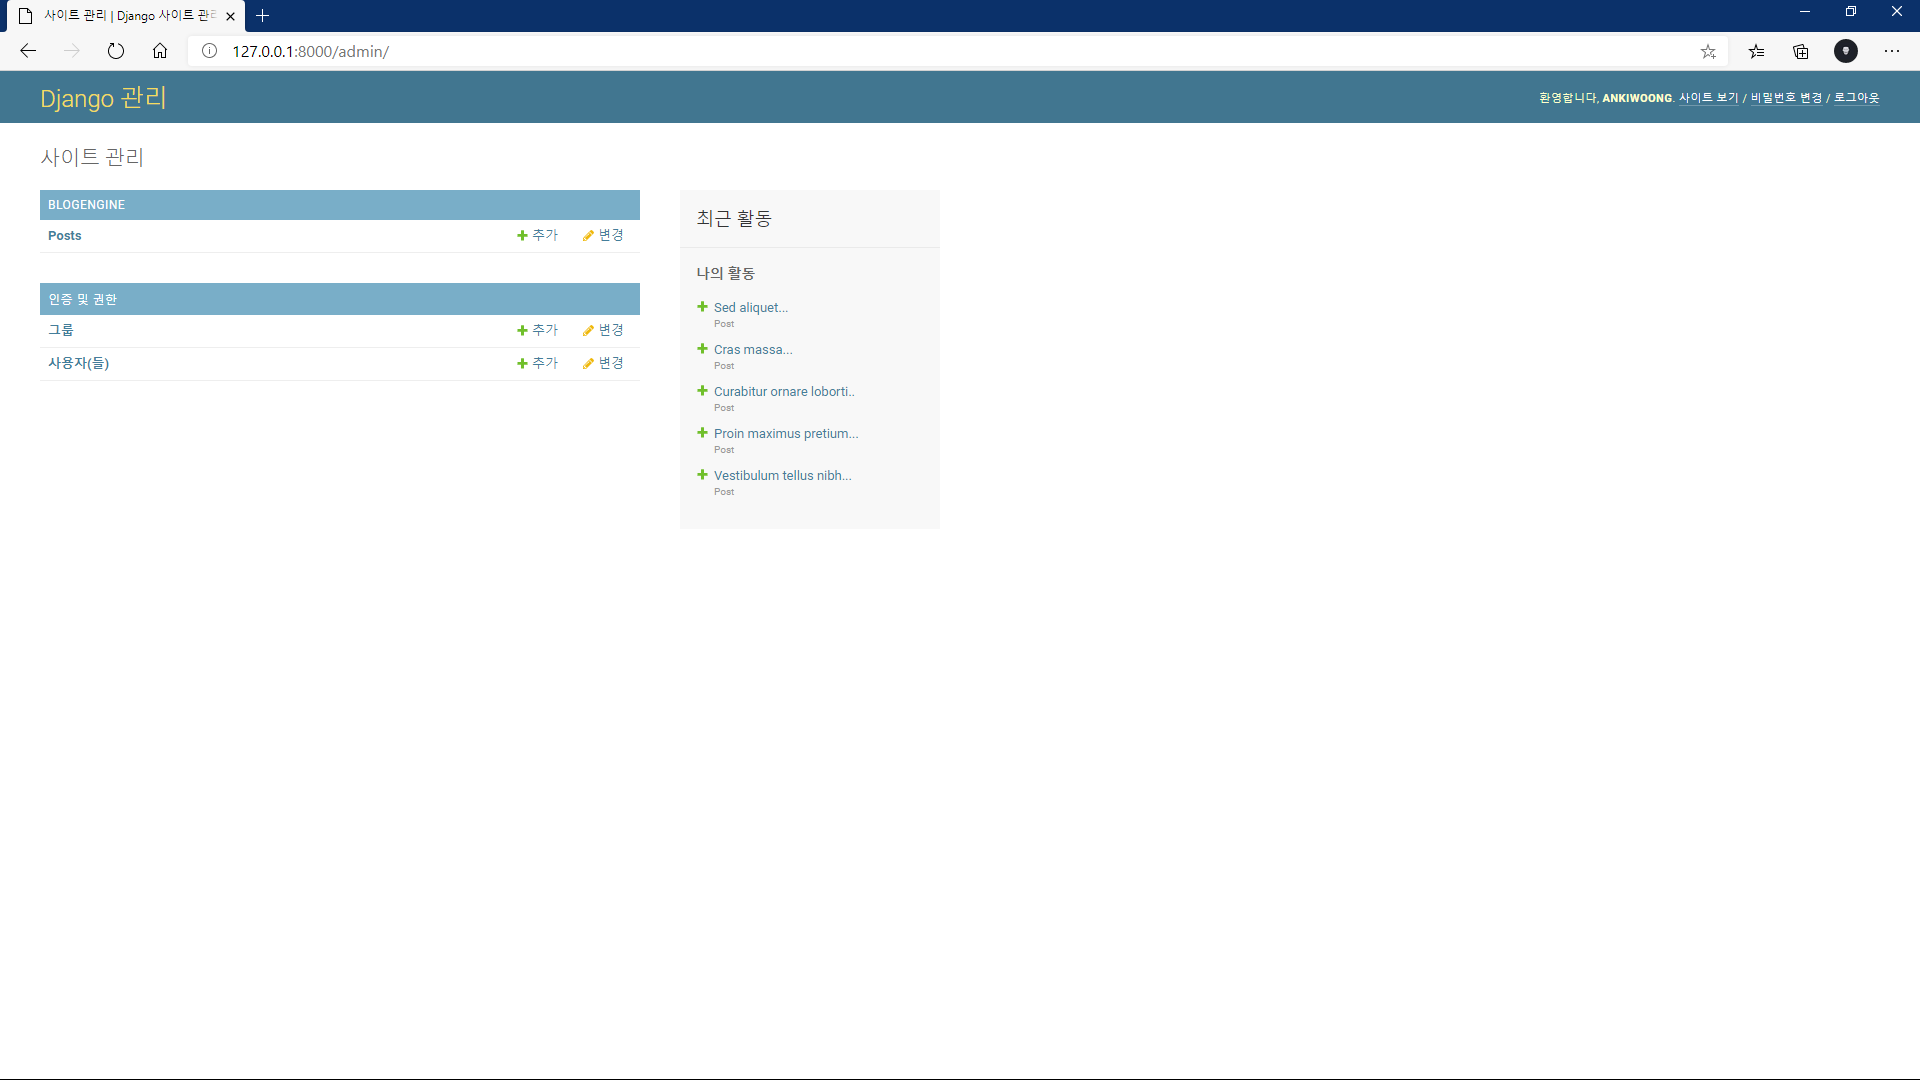
15. URL(DjangoBlog > urls.py)
from django.contrib import admin
from django.urls import path, include


urlpatterns = [
    path('admin/', admin.site.urls),
    path('blog/', include('blogengine.urls')),
]| * path('blog/', include('blogengine.urls')) |
| blog/로 URL 입력되면 blogengine에 urls 패턴에 의해 처리한다. |
16. URL(blogengine > urls.py(신규 생성))
from django.urls import path

from . import views


urlpatterns = [
    path('', views.getRecentPosts),
]
| DjangoBlog > urls.py | blogengine > urls.py | 최종 URL |
| 'blog/' | '' | 'blog/' |
17. views(blogengine > views.py)
원문 코드>
from django.shortcuts import render_to_response

from blogengine.models import Post


def getRecentPosts(request):
    posts = Post.objects.all()
    sorted_posts = posts.order_by('-pub_date')
    return render_to_response('posts.html', { 'posts':sorted_posts})
수정 코드>
from django.shortcuts import render

from blogengine.models import Post


def getRecentPosts(request):
    posts = Post.objects.all()
    sorted_posts = posts.order_by('-pub_date')
return render(request, 'posts.html', {'posts': sorted_posts})| getRecentPosts 속성 | |
| Post.object.all() | Post객체를 모두 가져와서 Post라는 목록에 할당 |
| sorted_posts = posts.order_by('-pub_date') | 작성일 내림차순으로 정렬해서 할당 |
| return render(request, 'posts.html', {'posts': sorted_posts}) | posts.html 템플릿을 로드하고 posts라는 딕셔너리값으로 sorted_posts를 전달 |
18. posts.html(templates > posts.html(신규 생성))
<html>

<head>
    <title>My Django Blog</title>
</head>

<body>
    {% for post in posts %}
    <h1>{{ post.title }}</h1>
    <h3>{{ post.pub_date }}</h3>
    {{ post.text }}
    {% endfor %}
</body>

</html>
19. settings(DjangoBlog > settings.py)
TEMPLATES = [
    {
        'BACKEND': 'django.template.backends.django.DjangoTemplates',
        'DIRS': [os.path.join(BASE_DIR, 'templates')],
        'APP_DIRS': True,
        'OPTIONS': {
            'context_processors': [
                'django.template.context_processors.debug',
                'django.template.context_processors.request',
                'django.contrib.auth.context_processors.auth',
                'django.contrib.messages.context_processors.messages',
            ],
        },
    },
]| 'DIRS': [os.path.join(BASE_DIR, 'templates')], |
| \templates |
20. Admin Page에서 Post 게제
참고 사이트>
Lorem Ipsum - All the facts - Lipsum generator
What is Lorem Ipsum? Lorem Ipsum is simply dummy text of the printing and typesetting industry. Lorem Ipsum has been the industry's standard dummy text ever since the 1500s, when an unknown printer took a galley of type and scrambled it to make a type spec
www.lipsum.com
21. 로컬 서버 테스트
python manage.py runserver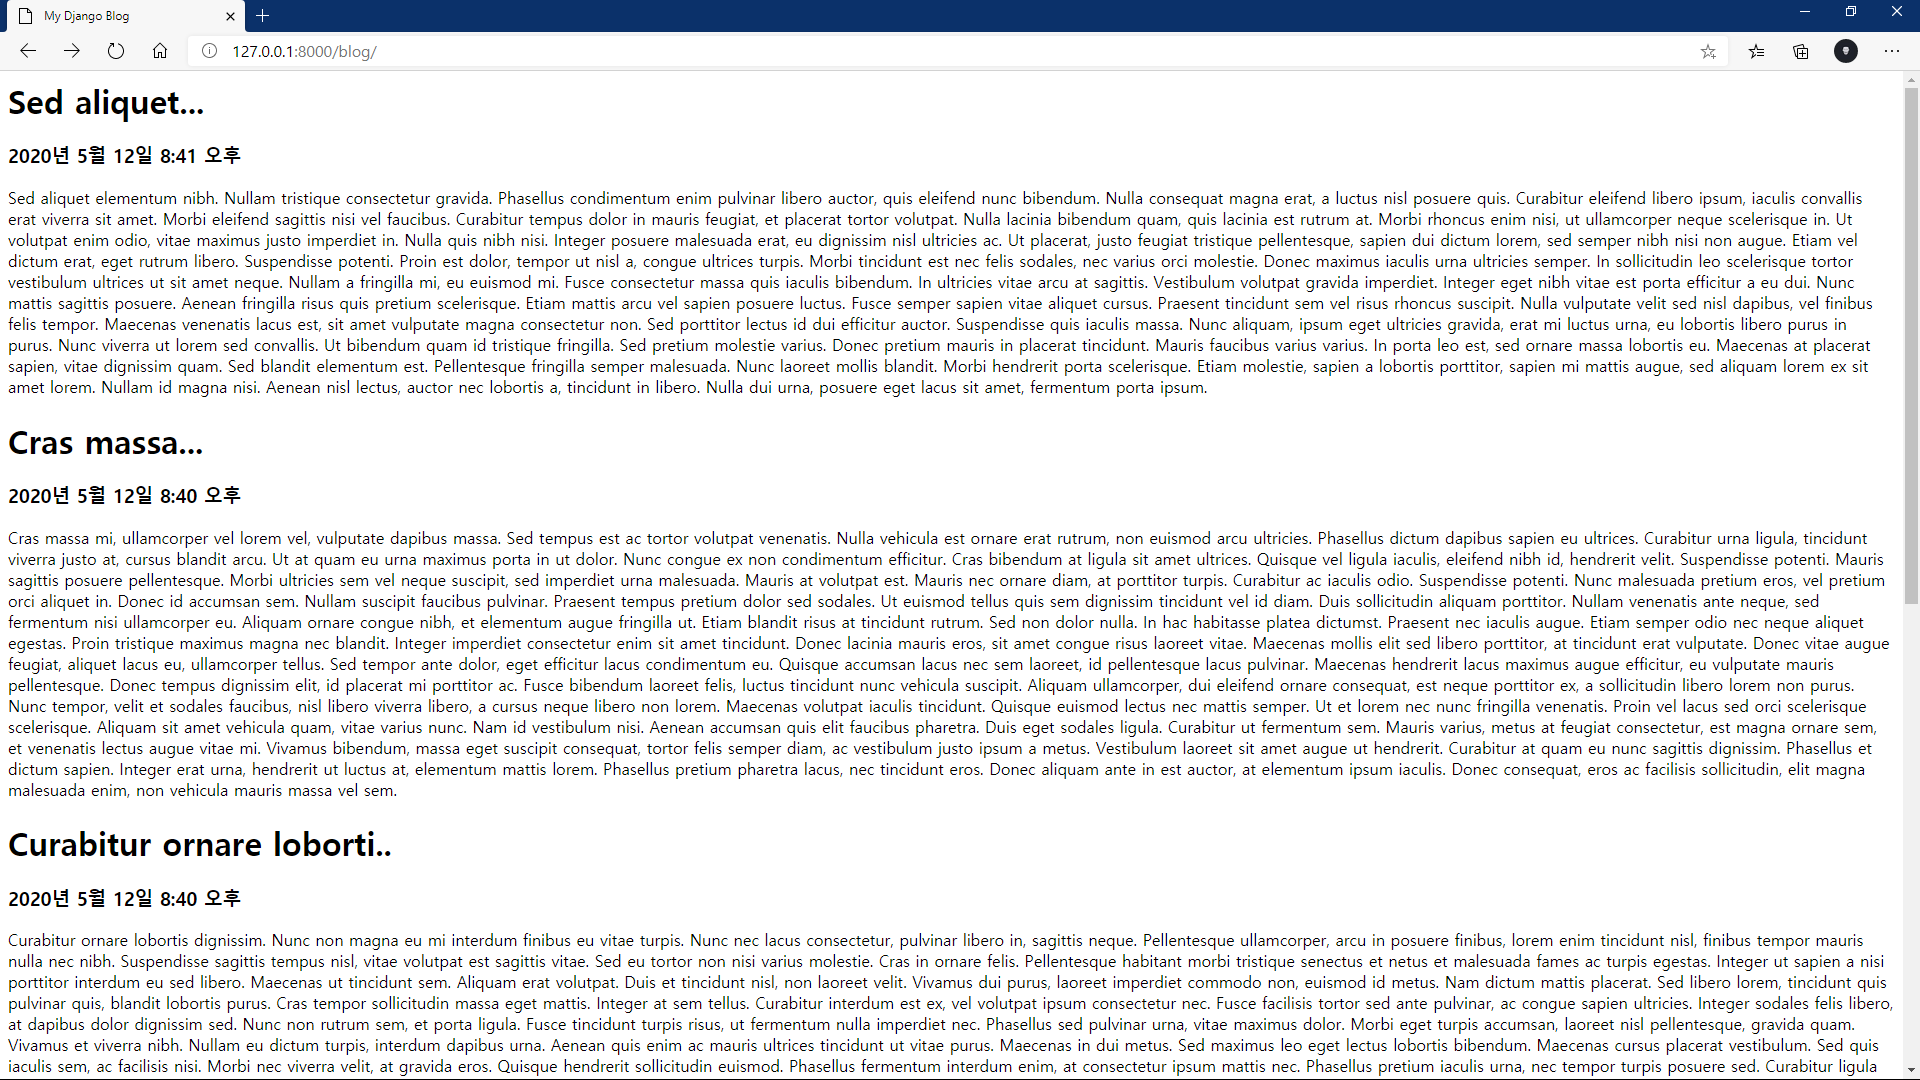
'Python_WEB > Django_Tutorial' 카테고리의 다른 글
| [Django]Blog Creation Tutorial(Translation/Correction) 3 (0) | 2020.05.14 |
|---|---|
| [Django]Blog Creation Tutorial(Translation/Correction) 2 (0) | 2020.05.13 |
| [Django]Survey WEB Application Tutorial 7 (0) | 2020.05.09 |
| [Django]Survey WEB Application Tutorial 6 (0) | 2020.04.30 |
| [Django]Survey WEB Application Tutorial 5 (0) | 2020.04.30 |


