1. Form 포함
'''
polls/templates/polls/detail.html
'''
<h1>{{ question.question_text }}</h1>

{% if error_message %}<p><strong>{{ error_message }}</strong></p>{% endif %}

<form action="{% url 'polls:vote' question.id %}" method="post">
{% csrf_token %}
{% for choice in question.choice_set.all %}
    <input type="radio" name="choice" id="choice{{ forloop.counter }}" value="{{ choice.id }}">
    <label for="choice{{ forloop.counter }}">{{ choice.choice_text }}</label><br>
{% endfor %}
<input type="submit" value="Vote">
</form>
- 위의 템플릿은 각 질문 선택 항목에 대한 라디오 버튼을 표시합니다.
각 라디오 버튼의 value는 연관된 질문 선택 항목의 ID입니다.
각 라디오 버튼의 name은 "choice"입니다.
즉, 누군가가 라디오 버튼 중 하나를 선택하여 폼을 제출하면, POST 데이터 인 choice=#을 보낼 것입니다.
여기서 #은 선택한 항목의 ID입니다. 이것은 HTML 폼의 기본 개념입니다.
- 양식의 동작을 {% url 'polls : vote'question.id %} (으)로 설정하고 method = "post"를 설정했습니다.
이 양식을 제출하면 데이터가 서버 측에서 변경되므로 method = "get"(method = "get"과 반대)을 사용하는 것이
매우 중요합니다.
데이터 서버 측을 변경하는 양식을 작성할 때마다 method = "post"를 사용하십시오.
이 팁은 Django에만 국한되지 않습니다. 일반적으로 좋은 웹 개발 방법입니다.
- forloop.counter 는 for 태그가 반복을 한 횟수를 나타냅니다.
- POST 양식 (데이터 수정의 영향을 줄 수 있음)을 작성하므로 교차 사이트 요청 위조에 대해 걱정할 필요가 있습니다.
고맙게도 Django는이를 보호하기위한 유용한 시스템을 제공하기 때문에 너무 걱정할 필요가 없습니다.
즉, 내부 URL을 대상으로하는 모든 POST 양식은 {% csrf_token %} 템플릿 태그를 사용해야합니다.
* CSRF(Cross Site Request Forgery) : 사이트 간 요청 위조 공격
https://docs.djangoproject.com/ko/3.0/ref/csrf/#module-django.middleware.csrf
Cross Site Request Forgery protection | Django 문서 | Django
Django The web framework for perfectionists with deadlines. Overview Download Documentation News Community Code Issues About ♥ Donate
docs.djangoproject.com
2. URLconf 작성
'''
polls/urls.py
'''
path('<int:question_id>/vote/', views.vote, name='vote'),
3. Views 작성
'''
polls/views.py
'''
from django.http import HttpResponse, HttpResponseRedirect
from django.shortcuts import get_object_or_404, render
from django.urls import reverse
from .models import Choice, Question

# ...
def vote(request, question_id):
    question = get_object_or_404(Question, pk=question_id)
    try:
        selected_choice = question.choice_set.get(pk=request.POST['choice'])
    except (KeyError, Choice.DoesNotExist):
        # 질문 투표 양식을 다시 표시하십시오.
        return render(request, 'polls/detail.html', {
            'question': question,
            'error_message': "You didn't select a choice.",
        })
    else:
        selected_choice.votes += 1
        selected_choice.save()
        # 성공적으로 처리 한 후 항상 HttpResponseRedirect를 반환
        # POST 데이터 포함 이렇게하면 데이터가 두 번 게시되지 않습니다
        # 사용자가 뒤로 버튼을 누르십시오.
        return HttpResponseRedirect(reverse('polls:results', args=(question.id,)))
- request.POST 는 키로 전송된 자료에 접근할 수 있도록 해주는 사전과 같은 객체입니다.
이 경우, request.POST['choice'] 는 선택된 설문의 ID를 문자열로 반환합니다.
request.POST 의 값은 항상 문자열들입니다.
- Django는 같은 방법으로 GET 자료에 접근하기 위해 request.GET 를 제공합니다.
그러나 POST 요청을 통해서만 자료가 수정되게하기 위해서, 명시적으로 코드에 request.POST 를 사용하고 있습니다.
- 만약 POST 자료에 choice 가 없으면, request.POST['choice'] 는 KeyError 가 일어납니다.
위의 코드는 KeyError 를 체크하고, choice가 주어지지 않은 경우에는 에러 메시지와 함께 설문조사 폼을
다시보여줍니다.
- 설문지의 수가 증가한 이후에, 코드는 일반 HttpResponse 가 아닌 HttpResponseRedirect 를 반환하고,
HttpResponseRedirect 는 하나의 인수를 받습니다: 그 인수는 사용자가 재전송될 URL 입니다.
(이 경우에 우리가 URL을 어떻게 구성하는지 다음 항목을 보세요).
- 위의 Python 주석에서 지적했듯이 POST 데이터를 성공적으로 처리 한 후에는 항상 HttpResponseRedirect를
반환해야합니다. 이 팁은 Django에만 국한되지 않습니다. 일반적으로 좋은 웹 개발 방법입니다.
- 우리는 이 예제에서 HttpResponseRedirect 생성자 안에서 reverse() 함수를 사용하고 있습니다.
이 함수는 뷰 함수에서 URL을 하드코딩하지 않도록 도와줍니다.
제어를 전달하기 원하는 뷰의 이름을, URL패턴의 변수부분을 조합해서 해당 뷰를 가리킵니다.
URLconf를 사용하였으며, 이 reverse() 호출은 아래와 같은 문자열을 반환할 것입니다.

4. 설문조사 결과 페이지 Views 작성
'''
polls/views.py
'''
from django.shortcuts import get_object_or_404, render


def results(request, question_id):
    question = get_object_or_404(Question, pk=question_id)
    return render(request, 'polls/results.html', {'question': question})
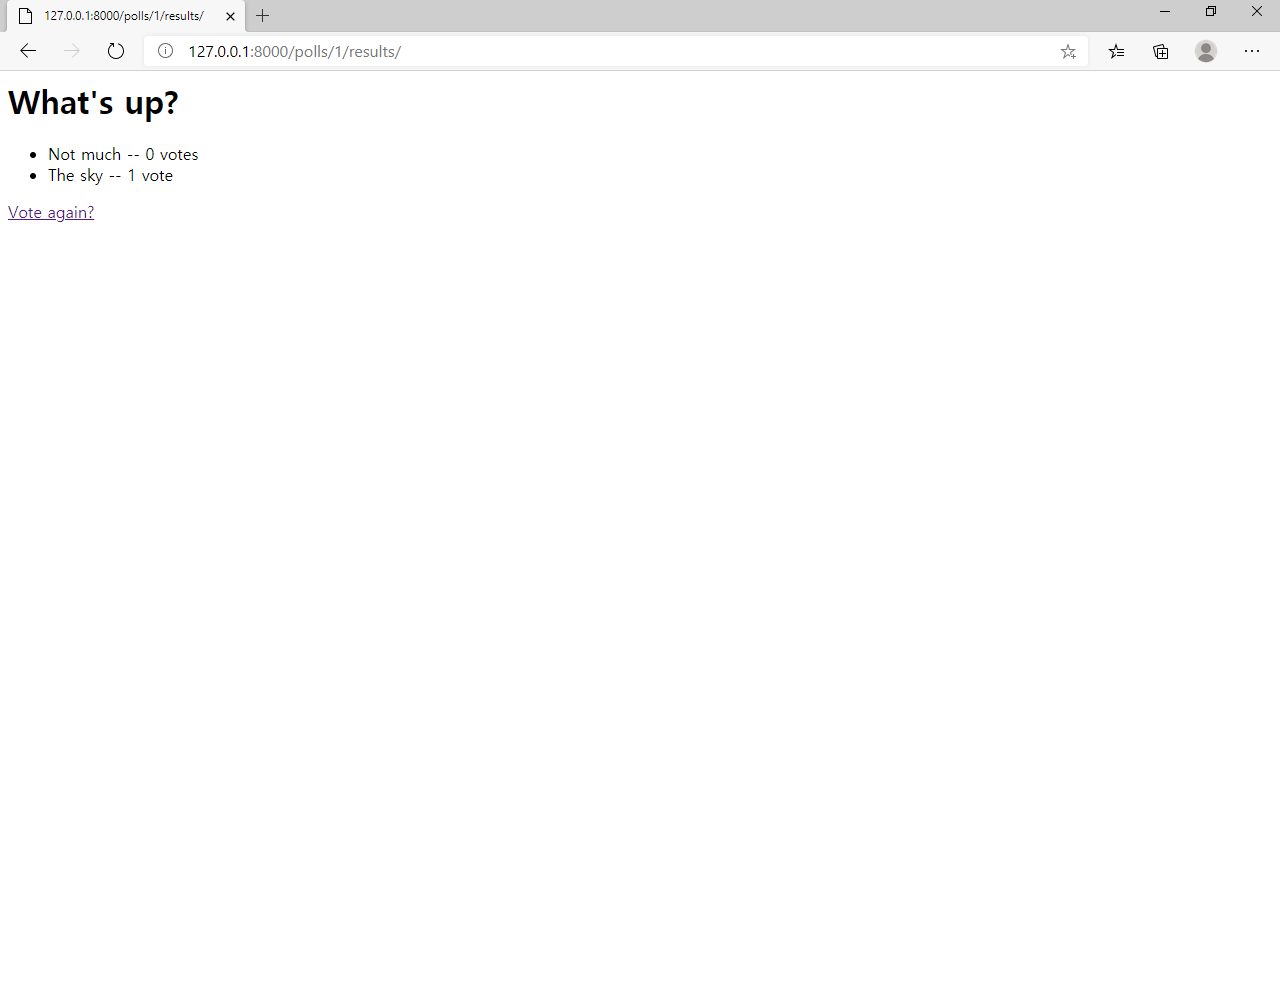
5. Results HTML 작성
'''
polls/templates/polls/results.html
'''
<h1>{{ question.question_text }}</h1>

<ul>
{% for choice in question.choice_set.all %}
    <li>{{ choice.choice_text }} -- {{ choice.votes }} vote{{ choice.votes|pluralize }}</li>
{% endfor %}
</ul>

<a href="{% url 'polls:detail' question.id %}">Vote again?</a>
6. URLconf 수정
'''
polls/urls.py
'''
from django.urls import path
from . import views

app_name = 'polls'
urlpatterns = [
    path('', views.IndexView.as_view(), name='index'),
    path('<int:pk>/', views.DetailView.as_view(), name='detail'),
    path('<int:pk>/results/', views.ResultsView.as_view(), name='results'),
    path('<int:question_id>/vote/', views.vote, name='vote'),
]
question_id -> pk
- pk(Primary Key)
7. Views 수정
'''
polls/views.py
'''
from django.http import HttpResponseRedirect
from django.shortcuts import get_object_or_404, render
from django.urls import reverse
from django.views import generic
from .models import Choice, Question


class IndexView(generic.ListView):
    template_name = 'polls/index.html'
    context_object_name = 'latest_question_list'

    def get_queryset(self):
        """마지막 5 개의 게시 된 질문을 반환하십시오."""
        return Question.objects.order_by('-pub_date')[:5]


class DetailView(generic.DetailView):
    model = Question
    template_name = 'polls/detail.html'


class ResultsView(generic.DetailView):
    model = Question
    template_name = 'polls/results.html'


def vote(request, question_id):
    ... # 위와 동일하며 변경할 필요가 없습니다.
- index, detail, results뷰를 제거하고 장고의 일반적인 뷰를 대신 사용한다.
- 각 제너릭 뷰는 어떤 모델이 적용될 것인지를 알아야합니다. 이것은 model 속성을 사용하여 제공됩니다.
- DetailView 제너릭 뷰는 URL에서 캡쳐 된 기본 키 값이``"pk"\ 라고 기대하기 때문에 ``question_id를 제너릭 뷰를
위해 pk로 변경합니다.
https://docs.djangoproject.com/ko/3.0/intro/tutorial04/
첫 번째 장고 앱 작성하기, part 4 | Django 문서 | Django
Django The web framework for perfectionists with deadlines. Overview Download Documentation News Community Code Issues About ♥ Donate
docs.djangoproject.com
'Python_WEB > Django_Tutorial' 카테고리의 다른 글
| [Django]Survey WEB Application Tutorial 7 (0) | 2020.05.09 |
|---|---|
| [Django]Survey WEB Application Tutorial 6 (0) | 2020.04.30 |
| [Django]'polls" is not a registered namespace Error (0) | 2020.04.29 |
| [Django]Survey WEB Application Tutorial 4 (0) | 2020.04.29 |
| [Django]Survey WEB Application Tutorial 3 (0) | 2020.04.29 |


